
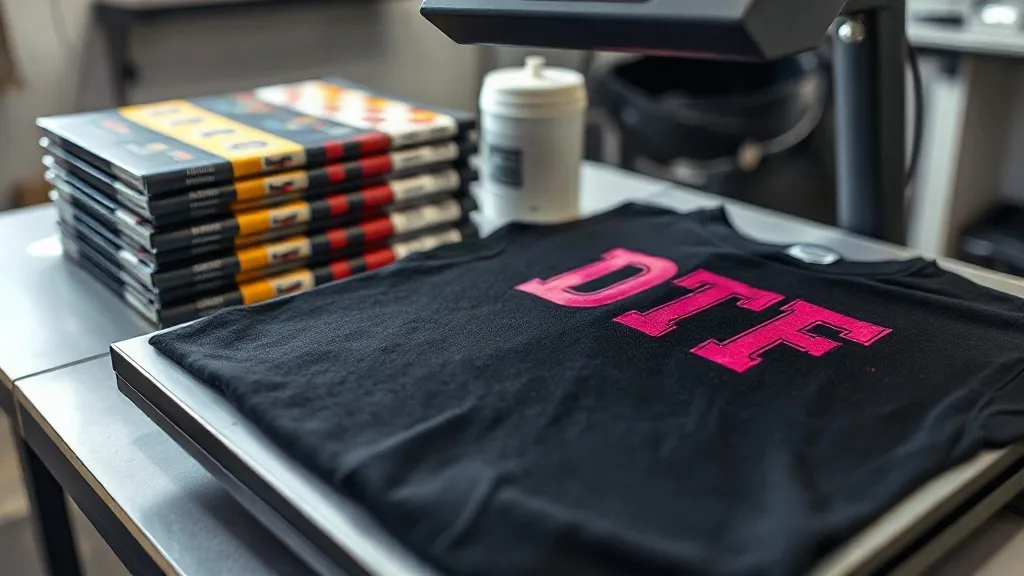
If you've been exploring custom apparel printing, you've likely come across dtf transfers as a versatile and cost-effective solution. Unlike traditional methods that require specialized equipment or minimum orders, DTF (Direct to Film) printing offers a streamlined workflow that's accessible to both hobbyists and professionals. In this guide, we'll walk you through the entire process, from preparing your artwork to pressing the final product, and share practical insights to help you achieve professional-grade results.
What Are DTF Transfers?
DTF transfers are printed designs on a special film that can be heat-pressed onto fabrics. The process involves printing your artwork onto a PET film using specialized dtf inks, then applying a powder adhesive while the ink is still wet. Once the powder is cured, the transfer is ready to be pressed onto a garment. This method works on a wide range of materials, including cotton, polyester, blends, and even some synthetics, making it incredibly versatile.
How DTF Printing Works
The DTF printing process consists of several key steps:
- Design Preparation: Your artwork is prepared in a RIP software, which handles color management and ensures the white ink layer is properly generated.
- Printing: The design is printed onto a PET film. First, a layer of white ink is applied, followed by the color layers. This white base is crucial for vibrant colors on dark fabrics.
- Powder Application: While the ink is still wet, a hot-melt adhesive powder is applied evenly over the design. Excess powder is shaken off.
- Curing: The film is then heated to melt the powder, creating a durable adhesive layer.
- Heat Pressing: The transfer is placed on the fabric and pressed with a heat press, allowing the adhesive to bond with the fibers.
- Peeling: After pressing, the film is peeled away, leaving the design on the garment.
Why Choose DTF Transfers?
DTF transfers have gained popularity for several compelling reasons:
- Versatility: They adhere to almost any fabric, including cotton, polyester, nylon, and leather. This eliminates the need for multiple printing methods.
- No Pre-Treatment: Unlike DTG printing, DTF doesn't require pre-treating the garment, saving time and reducing costs.
- Durability: When applied correctly, DTF prints are highly durable, resisting cracking, fading, and washing.
- Cost-Effective for Small Runs: DTF is ideal for short runs and one-off designs, as there's no minimum order quantity.
- Vibrant Colors: The white ink base ensures colors pop on both light and dark fabrics.
Choosing the Right DTF Supplies
To achieve professional results, you need quality supplies. Here's what to look for:
DTF Inks
Not all DTF inks are created equal. Look for inks that are specifically formulated for DTF printing. They should have good opacity, be compatible with your printhead, and offer excellent color vibrancy. Cheap inks can clog printheads and lead to poor adhesion.
DTF Film
The film is the backbone of the transfer. It must be able to withstand the heat of the printer and the curing process without warping. There are two main types: cold peel and hot peel. Cold peel films require the transfer to cool completely before peeling, while hot peel films can be peeled while still hot. Hot peel is faster but can be trickier to handle.
Adhesive Powder
The powder is what makes the transfer stick to the fabric. It should be finely milled and have a low melting point. The particle size affects the feel of the final print; finer powders result in a softer hand.
Step-by-Step Guide to Applying DTF Transfers
Applying a DTF transfer is straightforward, but attention to detail is key. Follow these steps for best results:
1. Prepare Your Workstation
Ensure your heat press is level and clean. Set the temperature according to the film and powder specifications, typically around 300°F to 330°F (150°C to 165°C). Pre-press the garment for a few seconds to remove moisture and wrinkles.
2. Position the Transfer
Place the transfer on the garment with the design facing up. Use heat-resistant tape if necessary to keep it in place.
3. Press
Cover the transfer with a Teflon sheet or parchment paper. Press with medium to firm pressure for 10-15 seconds. The exact time depends on the film type and your press.
4. Peel
For cold peel, remove the garment from the press and wait until it cools completely before peeling the film. For hot peel, peel immediately after pressing. Peel in a smooth, continuous motion.
5. Post-Press (Optional)
For added durability, you can cover the design with a Teflon sheet and press for another 5 seconds. This helps the adhesive fully bond with the fabric.
Common Mistakes to Avoid
Even experienced printers can run into issues. Here are some common pitfalls and how to avoid them:
- Insufficient Pressure: Too little pressure results in poor adhesion. Make sure your press is adjusted properly.
- Wrong Temperature: Too hot and the film may melt or the ink may scorch; too cold and the adhesive won't activate.
- Peeling Too Early or Too Late: Follow the film's instructions for hot or cold peel. Peeling at the wrong time can cause the design to lift or distort.
- Uneven Powder Application: Shake off excess powder thoroughly; otherwise, you'll get a rough, textured feel.
- Ignoring Fabric Type: Some fabrics, like nylon, may require lower temperatures. Always test on a scrap first.
Finding DTF Transfers Near You
If you're looking to try DTF without investing in equipment, you can order transfers from professional printers. Searching for dtf transfers near me can connect you with local services that offer quick turnaround and personalized support. Alternatively, many online suppliers provide high-quality transfers with fast shipping.
Frequently Asked Questions
Can I use DTF transfers on 100% cotton?
Yes, DTF transfers work excellently on 100% cotton. The adhesive bonds well with natural fibers, and the white ink base ensures vibrant colors. Just be sure to pre-press the garment to remove moisture.
How long do DTF transfers last?
With proper application and care, DTF transfers can last as long as the garment itself. They are resistant to cracking and fading, even after multiple washes. Always wash inside out in cold water and avoid harsh detergents.
What is the difference between hot peel and cold peel DTF film?
Hot peel film allows you to remove the film immediately after pressing while it's still hot, which speeds up production. Cold peel requires the transfer to cool completely before peeling, which can result in a smoother finish but takes more time.
Do I need a special printer for DTF?
Yes, DTF printing requires a printer that uses DTF ink and is capable of printing on film. You can convert an existing printer or purchase a dedicated DTF printer. Alternatively, you can order transfers from a service provider.
Can DTF transfers be applied to dark garments?
Absolutely. DTF transfers include a white ink layer that acts as a base, allowing colors to stand out vividly on dark fabrics. This is one of the key advantages of DTF over other printing methods.
Whether you're a small business owner or a DIY enthusiast, mastering DTF transfers opens up a world of possibilities for custom apparel. With the right supplies and techniques, you can produce professional-quality prints that impress your customers and keep them coming back.