
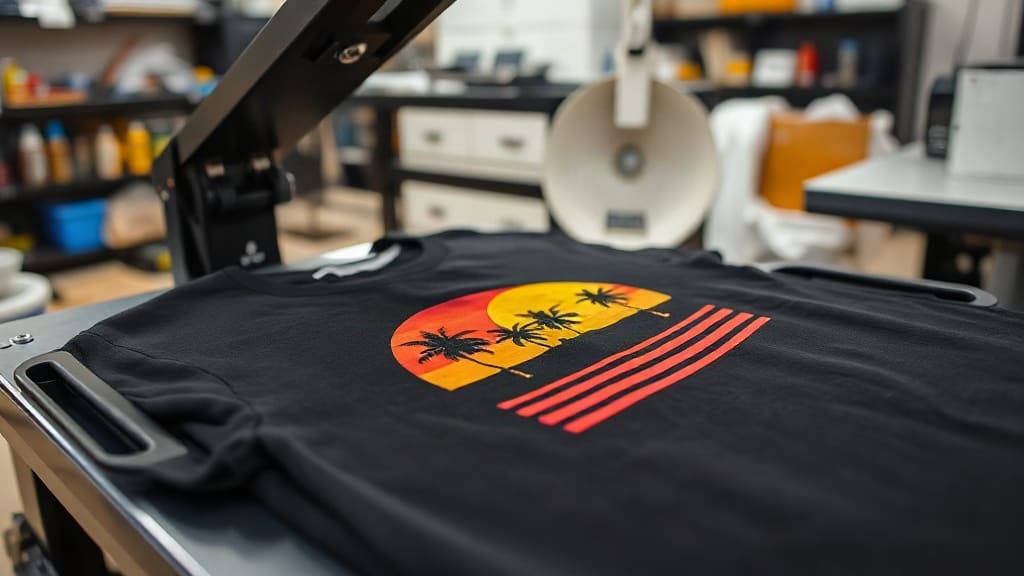
If you're into custom printing, you've probably heard about DTF transfers. They've taken the apparel industry by storm, offering a flexible and cost-effective way to create vibrant designs on various fabrics. But what exactly are they, and are they right for your business? In this guide, I'll break down everything you need to know, from the basics to advanced tips, so you can decide if DTF is your next printing solution.
What Are DTF Transfers?
DTF stands for Direct to Film. It's a printing method where a design is printed onto a special film, coated with adhesive powder, and then heat-pressed onto fabric. Unlike screen printing or heat transfer vinyl, DTF transfers allow for high-detail, full-color designs without the need for screens or weeding. The process is relatively simple, making it a favorite among small businesses and hobbyists.
The magic happens in the film. A printer lays down the design onto a PET film, which is then covered with a hot-melt adhesive powder. Once heated, the powder melts and bonds the design to the fabric. The result is a soft, durable print that can withstand many washes.
How DTF Transfers Work: Step-by-Step
Understanding the process helps you appreciate the versatility of DTF. Here's a simple breakdown:
- Print the design: Using a DTF printer, you print your design onto a special film with CMYK plus white ink. The white ink is crucial because it creates a base for colors to pop on dark fabrics.
- Apply adhesive: While the ink is still wet, you sprinkle or apply hot-melt adhesive powder over the printed design. The powder sticks only to the wet ink.
- Shake off excess: Gently shake off the excess powder. The design should be covered evenly.
- Dry and cure: The film passes through a dryer or heat tunnel to melt the powder and set the adhesive.
- Heat press: Place the film on your garment (adhesive side down) and press with a heat press at around 160-170°C (320-340°F) for 15-20 seconds.
- Peel: After pressing, peel off the film. Your design is now transferred onto the fabric.
It sounds straightforward, and it is. But there are nuances, like temperature and pressure, that can affect the outcome. I'll get into those later.
Why Choose DTF Transfers? Key Benefits
There are many reasons why DTF transfers have become so popular. Here are the standout advantages:
- Versatility: You can apply DTF transfers to cotton, polyester, blends, and even some hard surfaces like wood or glass (with the right adhesive). This is a huge plus compared to other methods that are fabric-specific.
- High detail and vibrant colors: Because it uses digital printing, you can achieve photographic details and gradients that are challenging with screen printing.
- No weeding: Unlike vinyl, there's no tedious weeding of intricate designs. You just print, powder, and press.
- Soft hand feel: The prints are thin and flexible, so they don't feel like a heavy sticker on the shirt.
- Cost-effective for small runs: With no setup fees, you can print one or a hundred shirts at a reasonable cost per unit.
- Durability: When applied correctly, DTF prints can last for many washes without cracking or fading.
These benefits make DTF an attractive option for custom merchandise, event giveaways, and small-batch apparel.
DTF Transfers vs. Other Printing Methods
Let's compare DTF with other common techniques so you can see where it fits.
DTF vs. Screen Printing
Screen printing is great for bulk orders with simple designs. However, it requires screens, which means setup costs. For small quantities or multi-color designs, DTF transfers are more economical and faster to produce. Screen printing still wins for very large runs (like 500+ shirts) due to lower unit costs.
DTF vs. Vinyl Heat Transfer
Vinyl is perfect for simple shapes and letters. But for complex designs, you have to weed out the excess, which is time-consuming. DTF eliminates that step. Also, DTF has a softer feel compared to vinyl, which can feel stiff.
DTF vs. DTG (Direct to Garment)
DTG is like printing directly onto the shirt with an inkjet printer. It works best on 100% cotton. DTF transfers can be used on more fabric types, and you can print them in advance and store them for later. DTG is faster for single shirts, but DTF is more flexible for pre-printing designs.
Materials Needed for DTF Transfers
To get started with DTF at home or in a small business, you'll need some equipment:
- DTF printer: Typically, an Epson or Ricoh printer modified to print with pigment inks and white ink. You can also buy dedicated DTF printers.
- DTF film: Specially coated PET film. There are various sizes and thicknesses.
- DTF inks: Usually, CMYK plus white. These are pigment-based to ensure durability.
- Hot-melt adhesive powder: This comes in different mesh sizes for different fabric types.
- Shaker and curing unit: For applying and melting the powder.
- Heat press: Essential for transferring the design onto the garment.
If you're just starting, you might want to consider buying pre-printed DTF transfers from a professional service like dtfmasterprint.com. This way, you can test the waters without investing in expensive equipment.
How to Use DTF Transfers (Step-by-Step for Pre-Printed)
If you purchase pre-printed DTF transfers, the process is simple:
- Set your heat press to 160-170°C (320-340°F) and wait for it to heat up.
- Place your garment on the press and iron out any wrinkles.
- Position the DTF transfer on the garment with the film side up (the printed side touching the fabric).
- Press with medium to firm pressure for 15-20 seconds.
- Peel the film off while it's still hot or cold, depending on the transfer's instructions. Some recommend cold peel for better adhesion.
- To ensure durability, you can press again with a silicone paper or a Teflon sheet for a few seconds.
Remember to use a heat-resistant tape to keep the transfer in place if it's larger. And always do a test on a scrap fabric first.
Tips for Perfect DTF Application
Getting a perfect result requires attention to detail. Here are some pro tips I've picked up:
- Pre-press your garment: This removes moisture and wrinkles, which can affect the adhesion.
- Check the pressure: Too little pressure and the design might not stick; too much can cause ghosting or bleeding.
- Temperature control: Use a thermometer to verify your press's actual temperature. Many cheaper presses have inaccurate dials.
- Peel method: Some films work better with hot peel, others with cold. Follow the manufacturer's recommendation.
- Use a Teflon sheet: This protects the film and garment from direct heat and prevents scorch marks.
Also, consider the fabric type. For 100% cotton, you might need a slightly lower temperature. For polyester, be careful with heat sensitivity.
Caring for DTF Printed Garments
To make your DTF prints last, proper care is essential. Here's what I recommend to my customers:
- Wash inside out in cold water.
- Use mild detergent, no bleach.
- Tumble dry low or hang dry.
- Avoid ironing directly on the print. If needed, iron on the reverse side.
- Do not dry clean.
Following these steps will help maintain the vibrancy and integrity of the design for a long time.
Cost Considerations of DTF Transfers
The cost of DTF transfers varies based on factors like quantity, size, and complexity. For small orders, DTF is often cheaper than screen printing because there are no setup fees. As a rough estimate, a standard 20cm x 20cm transfer might cost you around $2-3 if you print it yourself, but that doesn't include equipment depreciation. When buying from a service, prices can range from $3 to $10 depending on the design.
If you're planning to resell items, calculate your costs carefully to ensure a healthy margin. Remember that DTF transfers can be stored, so you can print in bulk to reduce per-unit costs.
Frequently Asked Questions
Can DTF transfers be used on dark fabrics?
Yes, absolutely. In fact, DTF is excellent for dark fabrics because the white ink layer provides opacity, ensuring your design pops. The white base prevents the dark fabric from showing through the colors.
How long do DTF transfers last?
With proper application and care, DTF prints can last for many washes. I've seen prints that stay vibrant even after 50+ washes. The key is to use quality materials and follow the pressing instructions correctly.
What is the difference between DTF and sublimation?
Sublimation requires polyester fabrics and works by transferring dye into the material. It won't work on cotton. DTF, on the other hand, can be used on cotton and blends, making it more versatile. Sublimation often yields a softer feel, but DTF is catching up.
Can I use a regular inkjet printer for DTF?
No, you need a printer that can handle pigment inks and white ink. Standard inkjet printers use dye-based inks and can't print white. DTF printers are modified to have a white ink channel and use specialized film.
Do I need a heat press for DTF?
Yes, a heat press is essential for applying DTF transfers. You can't use a regular home iron because it doesn't provide even pressure and temperature. A heat press ensures consistent results.
Final Thoughts
DTF transfers are a game-changer in the custom printing world. They offer a blend of versatility, quality, and affordability that suits both beginners and established businesses. Whether you want to start a side hustle or expand your print offerings, DTF is a solid investment.
If you're not ready to buy equipment, consider using a professional service for your DTF transfers. Many companies offer custom printing with quick turnaround. Just remember to choose a reputable provider to ensure the best results.
I hope this guide has been helpful. Now, go create something amazing!