
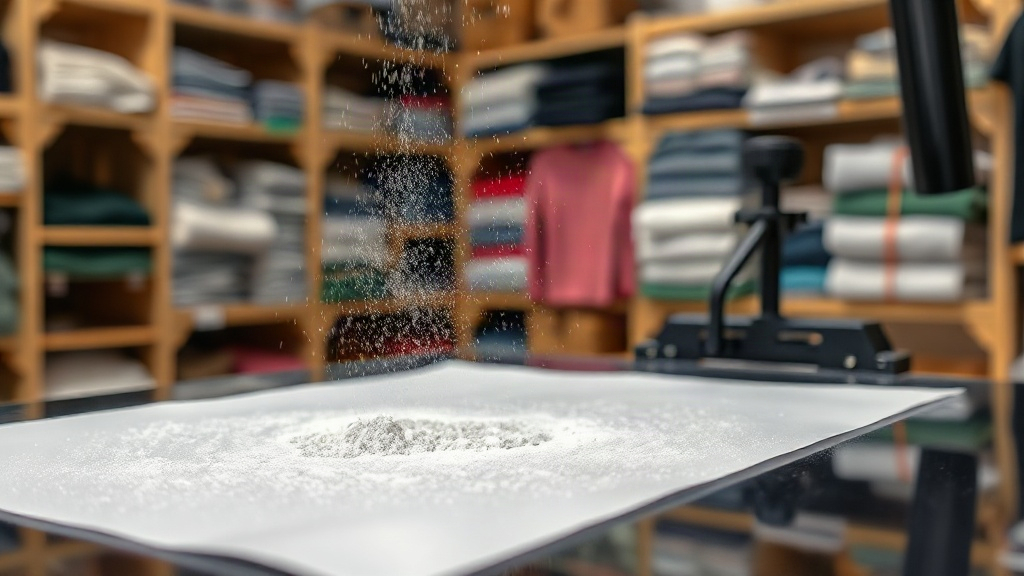
Most people meet DTF for the first time the same way: a customer walks in with a phone photo, a deadline, and a garment that cannot be ordered in the right color. Screen printing needs volume and a clean separation. Vinyl needs simple shapes. DTF, which stands for direct to film, needs almost none of that. You print the artwork mirrored onto a coated PET film, dust it with hot-melt adhesive powder, cure it, and then heat press the dried transfer onto cotton, polyester, blends, canvas, or nylon. The colors stay vivid, the hand feel is soft, and the setup cost is basically the price of one sheet of film.
That simplicity is also where people get into trouble. I have watched shops produce gorgeous transfers on Monday and transfers that crack after two washes on Friday, using the same printer and the same artwork. The difference was almost never the design. It was the powder, the cure, and the press. This guide walks through the process the way it actually behaves in a working shop, with the failure points that matter and the numbers I use when something goes wrong.
What Actually Happens Inside a DTF Transfer
A finished DTF transfer is a stack of layers, and each layer has one job. Understanding the stack makes troubleshooting much faster, because every defect points to a specific layer.
- Release film: the PET carrier. It holds the printed image until you press it, then peels away. It is not part of the final print.
- White ink layer: the opacity. Without it, colors would disappear into a dark shirt.
- CMYK color layer: the visible image, printed either under or over the white depending on your printer's configuration.
- Hot-melt powder: the glue. It sits on top of the wet ink, absorbs into it, and after curing becomes the adhesive that bonds the print to fabric.
When a customer says a print peeled off, the powder layer failed. When they say the colors look dull on a black tee, the white layer is too thin. When the edges feel crunchy, the powder was over-applied or under-cured. Learn to read the stack and you stop guessing.
Film, Ink, and Powder: The Three Consumables That Decide Quality
Film
Not all PET film is coated the same way. Cheap film releases unevenly, which shows up as a matte, patchy surface where the ink refused to transfer. If you see a ghost image left on the film after pressing, the coating is failing before your technique is. Store film flat and away from humidity. A warped sheet feeds crooked and can smear the print head.
Ink
DTF inks are pigment-based and formulated to sit on film rather than soak into it. The white is the expensive part and the part most likely to cause clogs. Shake white ink daily, keep the capping station clean, and do not let the printer sit idle for a week without a nozzle check. A single missing white nozzle on a 300 mm print becomes a visible streak on every shirt.
Powder
Powder comes in fine and coarse grades, and the choice changes the hand feel. Fine powder gives a softer, more flexible print, which suits stretchy polyester and athletic wear. Coarse powder bonds more aggressively and holds up better on heavy cotton and canvas. Either way, apply it evenly and shake off the excess before curing. Clumps of powder cure into hard specks that you will feel through the shirt forever.
Curing: The Step That Decides Wash Durability
This is where most home setups lose money. The powder must reach its melt and crosslink temperature, and it must stay there long enough. A heat gun waved over the film is not curing. It is warming the surface while the powder underneath stays raw.
Two methods work reliably. A dedicated DTF powder shaker and oven unit gives consistent results because the temperature and dwell time are controlled. A heat press used as a curing station also works if you know your settings. I run fine powder at roughly 160 to 170 degrees Celsius for about two to three minutes in an oven, and I test with an infrared thermometer rather than trusting the display. If the cured powder looks glossy and slightly translucent, you are close. If it looks chalky and white, it is under-cured and will fail in the wash.
One more detail that gets ignored: let the transfer cool before stacking or bagging. Warm transfers stick to each other and to the bag, and the powder layer can deform under its own weight.
Pressing: Temperature, Pressure, and the Peel
Pressing is short, but small differences change the result. My baseline for cotton is 150 to 160 degrees Celsius, medium to firm pressure, 10 to 15 seconds. For polyester, drop the temperature to around 130 to 140 degrees Celsius and shorten the time, because polyester can scorch or dye-migrate. If you print on polyester often, a low-bleed film and a lower press temperature will save you a lot of ruined garments.
Pressure matters more than most people expect. Too little pressure and the powder never fully contacts the fabric weave, so the print sits on top and peels at the edges. Too much pressure and the image spreads, the fine detail smears, and the hand feel turns rubbery. Aim for enough pressure that you can see the fabric texture through the film, and no more.
Peel the film while it is still warm for a matte finish, or let it cool completely for a glossier, slightly sharper result. Pick one method and stay consistent, because mixing peel temperatures across an order creates visible differences between shirts.
Common DTF Defects and What They Actually Mean
- Cracking after washing: under-cured powder or too little press pressure. Increase cure time first, then pressure.
- Peeling at the corners: uneven powder coverage or a contaminated garment. Pre-press the shirt for a few seconds to remove moisture and wrinkles.
- Dull colors on dark fabric: insufficient white ink. Increase white passes or check for clogged white nozzles.
- Stiff, plastic feel: too much powder or excessive pressure. Switch to fine powder and reduce pressure.
- Ghosting on the film: film coating failure or a press that is too hot. Lower the temperature and try a different film batch.
Keep a log. Write down the film brand, powder grade, cure time, press temperature, pressure setting, and fabric type for every job that goes well. When a defect appears, you have a baseline to compare against instead of starting from scratch.
Where DTF Fits in a Real Shop
DTF is not a replacement for screen printing on large runs, and it is not the cheapest option for simple one-color designs on light shirts. Where it wins is everything in between: full-color photos, small quantities, names and numbers, hats, bags, and the awkward blends that other methods struggle with. It also lets you keep a digital inventory of transfers instead of a wall of screens, which matters when storage is tight.
The practical rule I use is simple. If the design has gradients, photographic detail, or a quantity under fifty, DTF is usually the fastest path to a sellable product. If it is a two-color logo on five hundred white tees, screen printing still wins on cost per piece. Knowing which tool to reach for is most of the job.
Frequently Asked Questions
How long does a DTF print last on a shirt?
A properly cured and pressed transfer typically survives fifty or more home wash cycles without cracking or peeling. Wash the garment inside out in cold water and avoid high-heat drying, which stresses the adhesive layer more than the wash itself.
Can you DTF print on 100 percent polyester?
Yes, but you need to lower the press temperature and shorten the dwell time to avoid scorching and dye migration. Using a low-bleed film and pre-pressing the garment to remove moisture also improves the result on polyester.
Why did my DTF transfer peel off after the first wash?
The most common causes are under-cured powder, insufficient press pressure, or pressing onto a fabric that was not clean and dry. Check the cure first, since a chalky white powder layer is the clearest sign of under-curing.
Do you need a special printer for DTF?
You need a printer that handles DTF pigment ink and white ink, which usually means a converted inkjet with a white channel. Standard desktop printers without a white ink option cannot produce opaque transfers on dark garments.
What is the difference between DTF and DTG?
DTG prints directly onto the garment and works best on cotton, while DTF prints onto a film that is then pressed onto the fabric. DTF handles polyester, blends, and hard-to-print items more reliably, and it allows you to stock transfers instead of printing on demand.